
Estamos muy contentos con la máquina, deja el piso en perfecto estado! La batería le dura muchísimo! De verdad los recomiendo bastante! Es la mejor máquina que hemos adquirido! Estamos... read more
 karelys P.
la verdad quiero dar las gracias primeramente ala señorita Erika por todo también agradecerle al señor josias y a todo su equipo por entregar a tiempo los servicios aonque al... read more
 Rubén C.
We purchased a cylindrical floor scrubber from Erica and it was exactly as described. Her customer support was extremely responsive including after the sale. Would definitely buy from them again.
 Joe B.
We bought our floor scrubber from Powerkleen and have had for over a year with zero issues. Erica made the buying process easy and they delivered right to our... read more
 Seth T.
The transaction from start to finish was amazing. Located them on social media reached out to them. They responded and with within two days I received my new scrubber. Sit... read more
 Todd S.
Their service is outstanding. We have purchased eight units from them, whenever we need parts they have them to us within a few days. Great company to do business with.
 Barry L.
"I recently purchased 2 machines, the sweeper scrubber machine, from Powerkleen company and had a fantastic experience. Erica was incredibly helpful and made the whole process smooth and easy. The... read more
 Adriatik S.
We own several businesses, so we are tuned into customer service - and we are picky because we know what is takes. The experience we had with the Robeys... read more

 Brad S.
Found out about powerkleen from an other satisfied customer. They delivered the scrubber to southern Illinois exactly like they said. Very professional and honest family owned business. Scrubber is... read more
 Jake W.
Very pleased with our experience purchasing a refurbished Nobles floor scrubber from PowerKleen. Would recommend and work with them again!
 Trent B.
What a great company. Just received my used scrubber and looks like new. All parts, brushes, hoses, batteries are new and the machine is brand new clean. ... read more
 Ruben F.
I am in Utah and bought a scrubber and sweeper from these folks. They are very thorough! Very professional!! And Very good to work with! Keep it up! Your service... read more
 James J.
Erica and her team were amazing to deal with! Not only did they have our Floor Scrubber to us within 3 days but it was even better than we... read more
 Jared D.
Our business bought a used floor scrubber from this family business and have been very pleased! We have now had the machine almost 6 months and our refurbished Nobles SS5... read more
 Joshua F.
I had a great experience during my purchase. Family run business, great machines, warranty and very knowledgeable people. Machine was delivered and they went over how to run... read more
 Josh
JoshEveryone at this facility was super helpful. From the co-owner, Sales Person and Service Tech. Great family owned business.
 Tim R.
From begining of our search for a floor machine to the eventual purchase, we were treated with great respect and kindness. All of our questions and concerns (which were many) were... read more
 Stuart R.
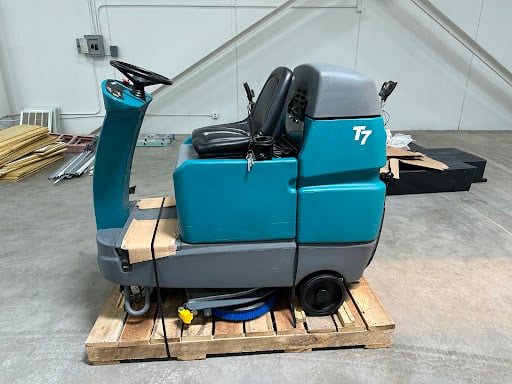
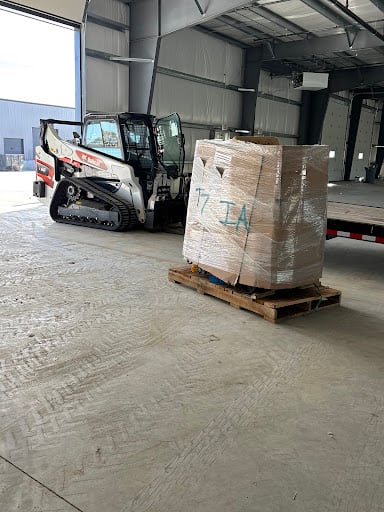
We ordered a T7 and it is a cleaning machine! They shipped it straight to our job site in Iowa and we put it to use the same day.... read more
 Gregory S.
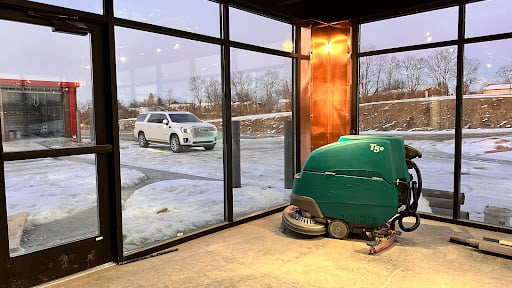
Super happy to discover they have rentals!! Made quick, efficient work of prepping a shop floor for staining. Rented the T300 and while small it was still mighty and the... read more
 Joslyn S.
Buy with confidence! I picked my T3 floor scrubber up from there Winchester, Ky facility. The owner and techs do a great job going through each machine before... read more
 Justin W.
